How to use Archive Apps To Save Space And Bandwidth On Windows 11

If you have applications on your computer that you rarely or never use it makes sense to get rid of the ones you don’t use. Because, the apps that are not frequently used occupy disk space, causing a waste of disk space and internet bandwidth. But you don’t want to delete these programs because you may need them at some point. However, there is an alternative. In Windows 11, Microsoft can automatically archive apps you’ve rarely used instead.
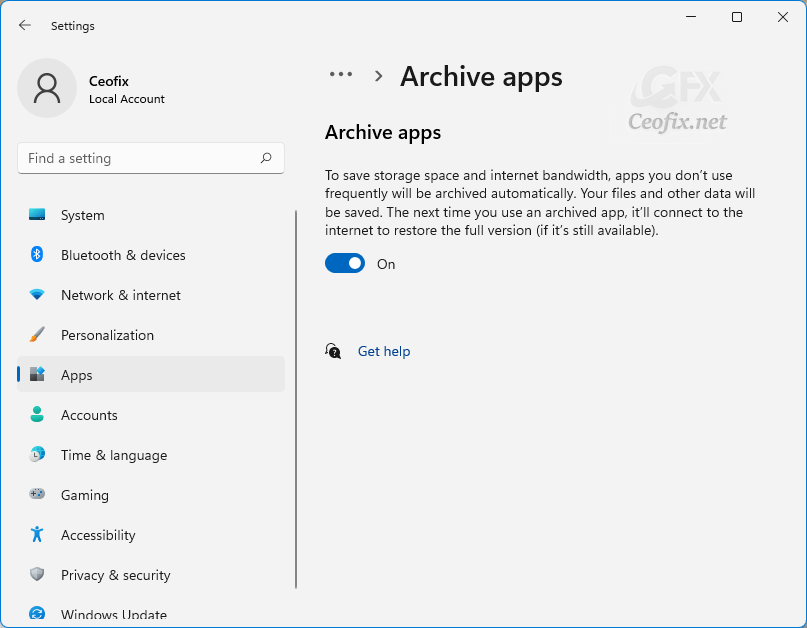
Windows 11 has a feature called ‘Archive app’ that’s designed to manage your apps automatically. Archive applications is a new feature in Windows 11 that enables you to manage programs and automatically saves disk space and bandwidth. The feature automatically hides any Microsoft Store apps that you aren’t frequently using. As a result, the app will no longer occupy space on the hard drive, nor will its services connect to use internet bandwidth. When you want to use the app again, it will connect to the internet and restore the full version if it is still available. By default, this feature is enabled on your Windows 11; however, it is possible to turn it off using the settings app if you need it. The only downside of this feature is that it will only work with apps downloaded from Microsoft Store.
How to Enable or Disable Windows 11 App Archive Feature
Click the Start button and select Settings from the Start menu.
Click on Apps and select Apps & features.

Expand the More settings section on the following menu and select the Archive apps option.
On the next page, turn on the button under Archive apps.

Enabling this option will save storage space and internet bandwidth. However, how often “frequently” means in this scenario is unclear. Also, there is no way to control which apps are archived, etc. Perhaps, in the future it would be Microsoft allow you to archive application by application.
Alternatively; Disable or Enable Archive Apps feature using Registry

Press the ‘Windows key + R’ to open the ‘Run’ dialog. And type “regedit” and press ” Enter”.
Navigate to the below path: and locate the one the belongs to you.
HKEY_LOCAL_MACHINE\SOFTWARE\Microsoft\Windows\CurrentVersion\InstallService\Stubification
On the right side of the Window, search for ‘EnableAppOffloading’ and double-click on it.
EnableAppOffloading
Set the value to 1 for enabled and 0 for disabled.
That’s it! You are done.
