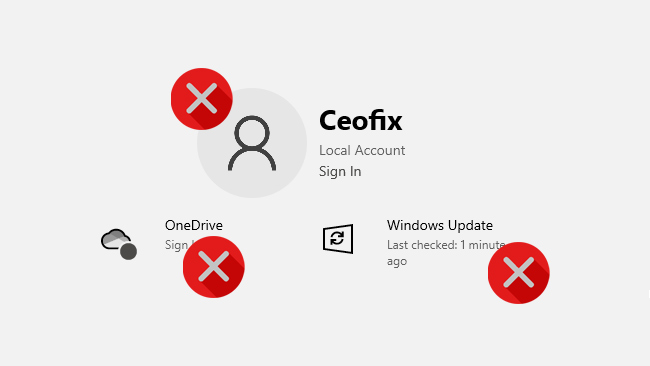
Settings is a Universal app bundled with Windows 10. It is created to replace the classic Control Panel for both touch screen users and mouse and keyboard Desktop users. Now this displays the Microsoft account Avatar followed by your Name, Email with a link to visit Microsoft account, OneDrive, and Windows Update in the Settings header. Clicking on these icons in the Settings header opens their respective pages. For example, clicking on the Windows Update icon takes you to the Windows Update page in the Settings app. ( You can watch the how to video which located at the end of the article)

This new banner or header make Windows Settings look personal, and also offer quick status and shortcut on top of important things. Windows 10 the Settings header, some people like it and others hate it. But don’t worry! This can be done with help of the ViveTool. The process is pretty straightforward, so let’s get started:
How to Enable or Disable Header Ad in Windows 10 Settings App
Download Vive Tool for Windows 10 from github. ( You can check the changelog and download the latest version from this page of GitHub.)
Extract the .zip archive to any folder you want. Open the Vive Tool folder. Next, you need to click on the File –> Open Windows PowerShell –> Open Windows PowerShell as administrator.

Copy-paste the below command and hit Enter:
To Disable Header in Settings app :
.\ViveTool.exe addconfig 18299130 1

To Enable Header in Settings app
.\ViveTool.exe addconfig 18299130 2
Once you complete the steps, open the Settings app and check it please.
That’s all.
Recommended For You
Quick & Easy Ways to Open Settings App in Windows 10
Create The Windows Settings Shortcut in Windows 10
Quickly Reset Networks Settings in Windows 10
Disable Sign-in options in Windows Settings
Protect windows Firewall Advanced Security settings
Change mouse settings With Command Prompt
