In this article, we’ll see how to add the Snip & Sketch App desktop icon in Windows.

There are many ways to launch the Snip & Sketch App in Windows, When you right-click on the Settings icon on the Start menu, you get only Pin to Start and Pin to taskbar options.
Create Snip & Sketch Desktop Shortcut In Windows
1 – Just right-click any blank spaces on the desktop
2 – Move your mouse cursor over New in the drop-down menu that appears.
3- Then select Shortcut.

4- In the location field, copy and paste the following path:
ms-screenclip:?source=QuickActions
5-Click Next button.

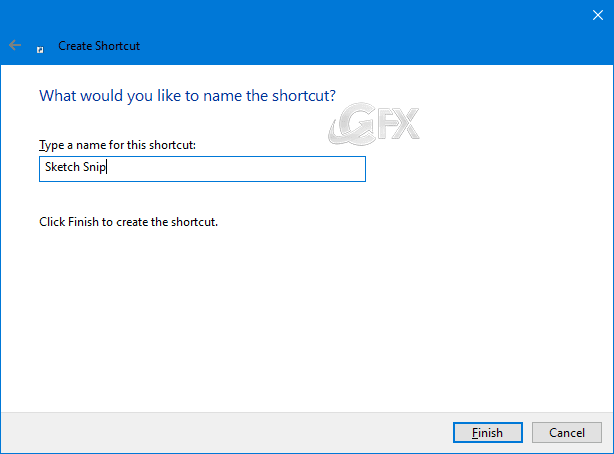
6- Type in a name for the shortcut, then click the finish button.

7- There appears a Snip & Sketch on the desktop.

If you want to add an icon to the shortcut, you can right-click it and select properties from the menu.
![]()
Under the Web Document tab, click Change Icon button, and then select an icon for it. Click OK button. Click Apply button to change the icon.
Alternatively Please use the download Link (at the end of the page)
1- File and unzip it.
2- Click the Snip&sketch App Desktop Shortcut
Other methods: How To Use Snip & Sketch To Take Screenshots In Windows 10
That’s it. Hope you find this helpful!
Published on: Oct 28, 2018-edited date : 21-12-2023

I can’t make the ms-screenclip:?source=QuickActions shortcut work, it end as an internet shortcut that opens in Evernote. I have to add “explorer”, thus : explorer “ms-screenclip:?source=QuickActions” (and explorer “ms-screenclip::source=QuickActions” works to)