On Windows 10, starting with version 1809 (October 2018 Update), the Snip & Sketch app has been repurposed to become the new default experience to take screenshots.

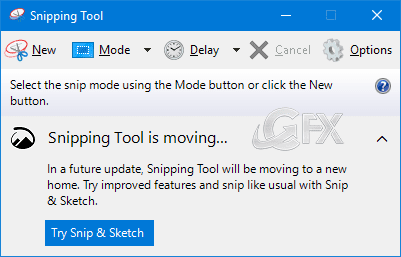
If you launch the Snipping Tool, you’ll see the following message letting you know it will be removed and consolidated into the new Snip & Sketch tool.

How to use PrtScr key to take screen shots in windows
Method 1:
One of the easiest ways to open the Snip & Sketch app is to click or tap on its shortcut from the Start Menu.

Method 2:
An alternative method to open Snip & Sketch is to use search. In Cortana’s field on your taskbar, enter the word snip and then click or tap the Snip & Search result.

Method 3:
You can also use the key combo of Windows Key + Shift + S to directly start a region shot.
Method 4:
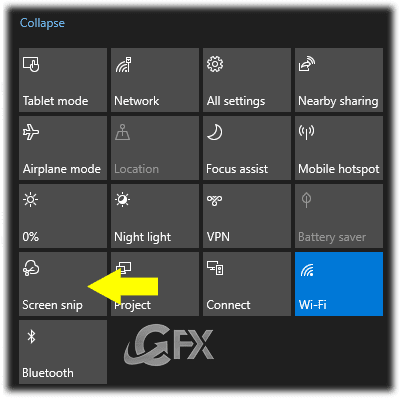
The Snip & Sketch app also offers a button in the Quick actions panel, which you can use to take faster screenshots. To get to it, open the Notifications & actions panel by clicking/tapping on its button from the bottom-right corner of the screen, or by sliding your finger from the right side of the screen (if you have a touchscreen). you should see the Screen snip button.

Method 5:
A tool like a Snip and Sketch without a screenshot is useless if one cannot launch using a hardware key. While Print Screen captures a screenshot in clipboard or saves it to OneDrive or Dropbox when configured, it will make sense if you can launch this app instead.
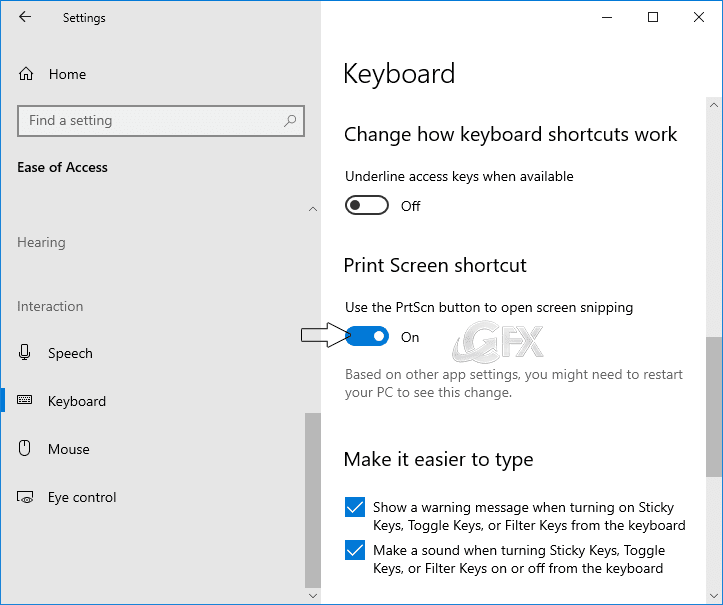
Click on Ease of Access.
Click on Keyboard.
Under “Print Screen shortcut,” turn on the Use the PrtScn button to open screen snipping toggle switch.

After the changes have been applied, you can simply press the PrtScr key on your keyboard to bring up the tools to take a clip or full screen capture of anything that you’re running in the desktop.
How to take screenshots with the Snip & Sketch app in Windows 10
To take a screenshot, launch the Screen Sketch app
The screen will gray out and you’ll see a few options at the top. The buttons offer different ways to take a shot like Freeform, Region, or Full Screen.

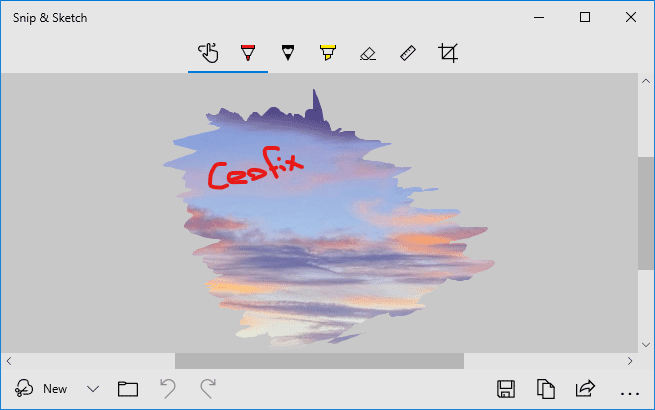
Once you take your shot you’ll see several options for ways to annotate it. There are different options in the Screen Sketch toolbar like a ruler, different ink colors, cropping, etc. It’s similar to other Windows inking features like with Ink Workspace or what you see when you annotate an eBook in Microsoft Edge with your finger. Of course, if you have a Surface Pen you’ll have several more features and settings to configure.

Using Snip & Sketch app
In Cortana’s field on your taskbar, enter the word snip and then click the Snip & Search result.
The top-left corner. Under the New menu, you can select to “Snip now”, “Snip in 3 seconds”, or “Snip in 10 seconds”.

When I tested this feature, I expected a countdown to be overlayed on the screen to indicate when the snip would occur. Unfortunately, this was not present and will hopefully be added in future versions.
Notes: If you don’t see this option, it’s likely because you’re not running the version of Windows 10 that supports the feature. Snip & Sketch as the default app to take screenshots is available starting with version 1809 and later.
Other methods: How To Add Snip & Sketch App Desktop Shortcut in Windows 10
Turn Your Browser Into A Notepad
Published on: Oct 26, 2018 at 15:16 last edited 13-02-2020
