Why Really Need to Replace Your Hard Drive?

If your hard drive is failing or has already failed, or you need more space in your primary hard drive, then replacing it makes sense. It’s a great way to make some extra life out of an old machine. A replacement hard drive and other components are fairly reasonable and easy to change.
Watching Video: How To I Replace a Hard Drive Step by step?
Toshiba A500 Hard Drive Replacement Step by step
1-Unplug the notebook, flip the machine over and remove the battery.
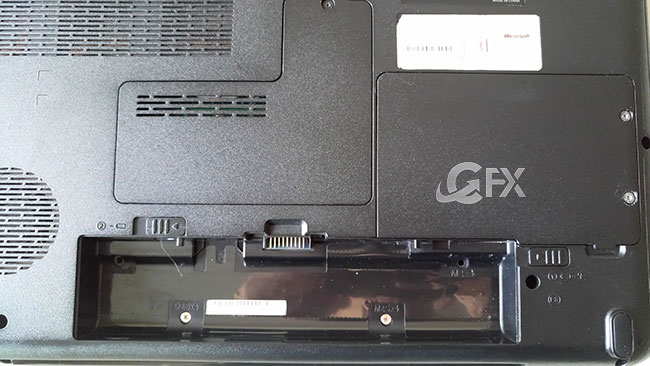
2-Locate and remove the screws holding the notebook hard drive bay. There will probably be an icon of a disk on the bay door. Once you locate this panel, take the Phillips head screwdriver and start removing them. Pop the panel loose once you’ve removed them all. Put the screws in a safe place where they won’t get lost.
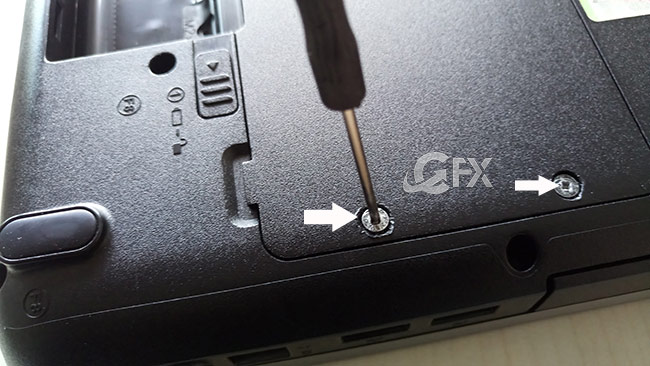
3- Check to see if the hard drive is connected to a removable sled or fastened in place within the computer.

Slide the hard drive to the right and disconnect it from the motherboard. Usually, you’ll have to pull backward to free the drive from its connector,

and then lift the drive up about 30 or 45 degrees and pull it out.

NOTE: If it is sitting within a sled, remove the screws securing the sled to the machine and slide it out.
If it is secured to the machine, remove the screws and lift the hard drive out
The details here depend on the type of computer you have but in general, this means removing data and power cables or sliding the hard drive out from the bay that it’s installed into. Take care not to damage any connectors while removing the hard drive.
This assembly consists of the actual hard drive and the metal housing. Metal housing is necessary for the reassembly of the device.
How To Replace A New Hard Drive In Laptop
4- Once hard drive is removed the laptop, you need to remove the hard drive caddy. There are usually four screws to remove from the caddy.


5. Simply Insert the new hard drive into the caddy.
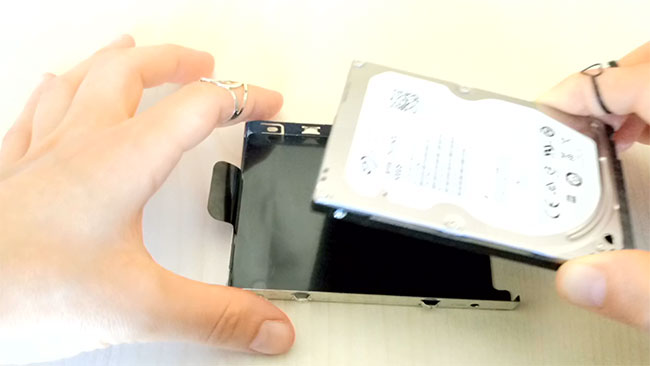
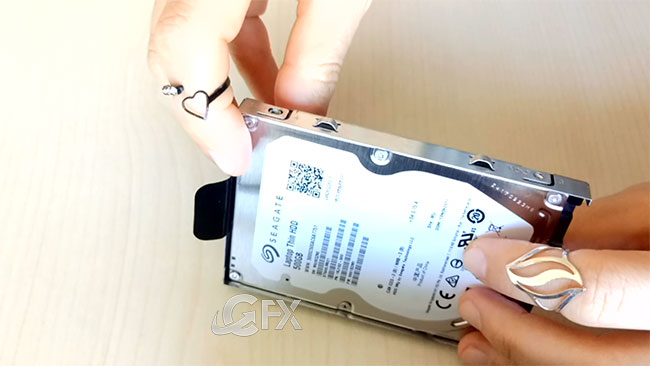
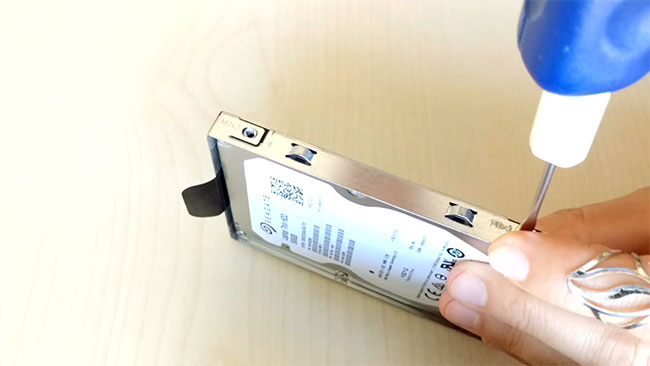
4- Seat the replacement hard drive into the notebook using the same method you performed when removing the old one.
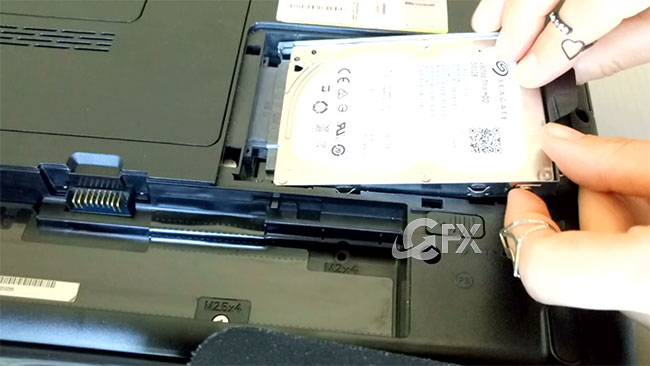


5-Reattach the hard drive bay door and replace the screws.

Note that if you bought a new storage drive, it’s going to be blank with no data on it.
Turn your laptop on and press the key needed to enter the BIOS set-up screen, usually F5 or F2. In the BIOS, check that the new drive is detected – if not, you’ll need to refit it.
Go to the boot section of the BIOS and change the boot order so that your laptop boots from CD and then the hard drive. Save the settings, insert the Windows install CD or System Recovery disc and reboot your laptop.
Published on: May 9, 2018 – edited 20-11-2021
