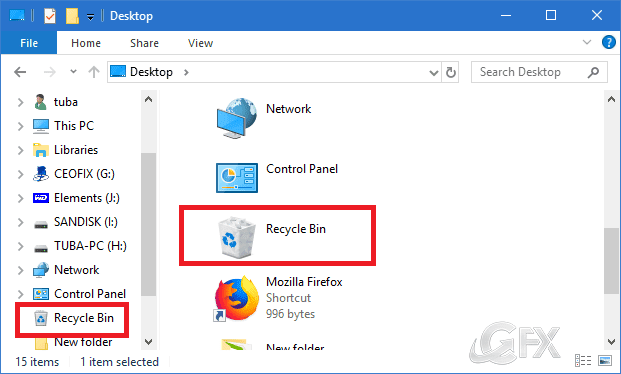
Add or Remove Recycle Bin in Navigation Pane

The Navigation pane is very handy to access your frequently accessed folders like, Quick Access, OneDrive folder and other drives on your PC and network location. Here is a trick which can improve your productivity and speed up access to the Recycle Bin in Windows 10. If you like, you can select to show all the folders on your PC in the navigation pane, including your personal folder, Control Panel, and Recycle Bin.
How to Show Recycle Bin in File Explorer on Windows
Recycle Bin is a very useful folder in Windows, that store files which you delete. As the name itself suggest, it saves you the trouble when you accidentally end up deleting an important file. It is possible to add the Recycle Bin to the navigation pane of File Explorer so it will always be one click away. Here is how.
Open File Explorer. Right-click on an empty area inside the navigation pane.

And click on Show all folders to check it, Recycle Bin is displaying. To hide Recycle Bin again, unchecked Show all folder option.
That’s it. Hope you find this helpful!
Recommended For You
How to add “Empty Recycle Bin” to Quick Access Toolbar
Missing My Computer – My Network Places or My Documents icon
Enable Delete Confirmation Dialog Box in Windows 10
Published on: Jan 11, 2018- Last edited – 21-10-2021
